

How to Run Thumbnail Testing That Actually Improves Click-Through Rate
Thumbnail testing works best as a two-step process: use a preview tool to narrow your options to two or three genuinely distinct thumbnails, then confirm the winner with YouTube’s Test and Compare feature, which picks the winner based on watch time, not raw clicks. That’s the whole system, and creators who skip the first step usually waste their three test slots on options that were never going to move the needle.
Here’s why the order matters:
- Preview tools catch obvious failures (illegible text, muddy contrast) before you spend two weeks testing them live.
- YouTube’s own tool caps you at three variants, so you need to walk in with strong finalists, not raw drafts.
- Google’s research on creative experiments found advertisers who optimized creative saw about 60% higher ad recall in some 2019–2020 campaigns, evidence that the design itself, not luck, drives the outcome.
Get the pre-publish step right and the live test just confirms what you already suspected.
Key Takeaways
Reliable thumbnail testing combines a pre-publish visual narrowing step with YouTube’s live A/B test, which decides winners by watch time rather than clicks alone.
| Point | Details |
|---|---|
| Narrow before you test live | Use preview tools to cut your options to two or three visually distinct thumbnails first. |
| Check small-size legibility | Shrink every candidate to mobile size; if it’s unclear in two seconds, redesign it. |
| Watch time decides winners | YouTube’s Test and Compare optimizes for watch time, not raw click volume. |
| Rerun inconclusive tests with sharper variants | An inconclusive or “performed same” result usually means your options weren’t distinct enough. |
| Simulate before paid launches | POPJAM lets high-stakes campaigns test creative reactions before spending on promotion. |
Table of Contents
- What Is Thumbnail Testing and Why Two Rounds Beat One
- Where Should You Preview a Thumbnail Before Publishing?
- How Do You Set Up a YouTube A/B Test?
- Design Checklist: What Every Thumbnail Variant Needs
- How Do You Read the Results of a Thumbnail A/B Test?
- When Does Pre-Launch Simulation Make Sense?
- What YouTube Creators Get Wrong About Thumbnail Testing
- Test Your Ad Creative Before You Spend a Dollar on Promotion
- Sources
- FAQ
What Is Thumbnail Testing and Why Two Rounds Beat One
Thumbnail testing is the practice of comparing different thumbnail designs to see which one earns more clicks and watch time from viewers. Most creators think of it as one activity, but it actually splits into two distinct rounds that serve different purposes. Round one happens before you ever hit publish: you eyeball your candidates the way a real viewer would, at real size, in real contexts. Round two happens after publish, when YouTube’s algorithm decides which thumbnail keeps people watching longest. Skipping round one and going straight to a live A/B test is like mailing three rough drafts to an editor instead of picking your best one first.
Where Should You Preview a Thumbnail Before Publishing?
Your thumbnail never appears in isolation. It competes for attention in at least six different visual contexts, and a design that pops in one can disappear in another.
- Home feed: Large tile, full color, next to a dozen competitors fighting for the same scroll.
- Search results: Smaller tile, positioned beside a title and channel name that can crowd out weak text.
- Suggested sidebar: Tiny rectangle next to the video someone is currently watching.
- Mobile feed: Compressed to a fraction of desktop size, where fine detail vanishes first.
- Bell notifications: A thumb-sized crop, sometimes cropped unpredictably.
- Autoplay end screens: Shown at reduced size alongside other suggested videos.
A useful preview tool lets you drop your image into mock versions of these placements and see it at true size instead of zoomed in on your monitor, which flatters almost anything. Look for tools that offer a grayscale or contrast filter, since color often disguises poor contrast that becomes obvious the moment the image shrinks. Editable title pairing matters too. Title and thumbnail work as a single unit, and a tool that lets you swap headline text next to each thumbnail variant shows you the combined effect, not just the image alone.
One more distinction worth knowing: some preview tools render everything locally in your browser with no server upload, which matters if you’re testing thumbnails for an unreleased video and don’t want the image touching a third-party server. Others process images server-side to offer heavier features like automated scoring. Neither approach is wrong, but know which one you’re using before you upload anything sensitive.
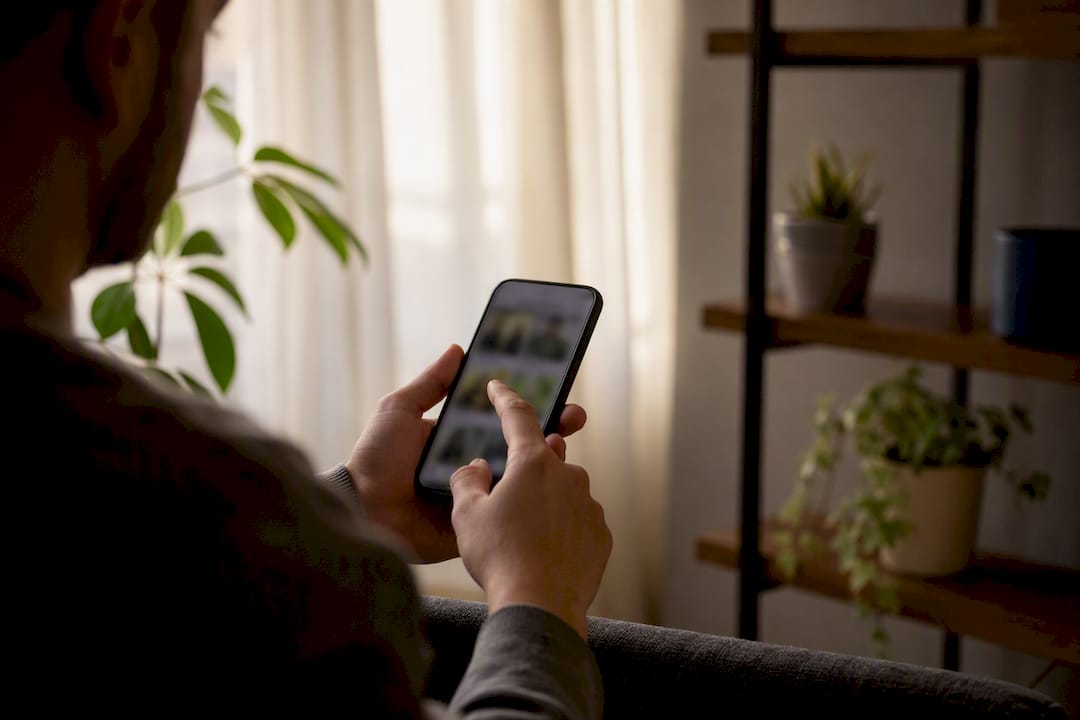
Pro Tip: Shrink your thumbnail to the size of a postage stamp on your phone screen and look at it for two seconds. If you can’t tell what the video is about in that glance, neither can a scrolling viewer.
How Do You Set Up a YouTube A/B Test?
Once you’ve narrowed your options with a preview tool, running the live test on YouTube itself takes about five minutes to set up.
- Sign in to YouTube Studio and open the video you want to test.
- Find the A/B testing option (listed as “Test and compare” in the video details panel).
- Choose whether to test thumbnail only or thumbnail paired with a new title.
- Upload up to three distinct thumbnail variants.
- Start the test and let it run.
A few platform rules matter here. YouTube’s system optimizes for watch time, meaning the “winner” isn’t necessarily the thumbnail that got the most clicks. It’s the one that kept viewers watching longest after they clicked. Tests typically run for about two weeks, and changing the title or thumbnail manually during that window will stop the test early, which wastes the data you’ve already collected.
Google’s own guidance for video experiments recommends distinct variants over minor tweaks, and the same logic applies here. Testing three shades of the same design tells you almost nothing. Pick videos that are older and already have steady traffic patterns rather than brand-new uploads, since that reduces the risk of a test skewing your whole channel’s performance during a critical launch window. Keep every other variable fixed while the test runs. Don’t tweak your description, tags, or posting schedule at the same time, or you won’t know what actually caused the shift.
Design Checklist: What Every Thumbnail Variant Needs
Before any thumbnail enters a test, run it through a short technical and visual check. YouTube recommends uploading thumbnails at 1280x720 resolution, and images below that threshold risk getting downscaled during testing, which can quietly hurt a variant’s chances before the test even starts fairly.
- Resolution: 1280x720 minimum, sourced from a high-resolution original rather than a stretched crop.
- File size: Stay within YouTube’s upload limits (2MB) to avoid compression artifacts.
- Focal point: One clear subject. A face, a product, or a single striking object, not three competing elements.
- Contrast: The subject should separate cleanly from the background, especially in a grayscale check.
- Text: Three to five words maximum, in a font size that survives shrinking to thumbnail scale.
- Expression or focus: If a face appears, the expression should be legible and specific, not a flat, generic smile.
Run each finalist through the same three checks: convert to grayscale to test contrast, shrink it to mobile size to test legibility, and pair it with your actual title to see whether the combination communicates the video’s premise in under two seconds.
Pro Tip: If you’re torn between two thumbnails, ask someone who has never seen your channel to describe what the video is about after a three-second glance. Their answer tells you more than your own opinion ever will.
How Do You Read the Results of a Thumbnail A/B Test?
YouTube reports one of three outcomes when a test finishes: winner, performed same, or inconclusive, and each calls for a different response. A “winner” result means one variant produced meaningfully higher watch time, and that’s the version YouTube will show to all future viewers automatically.
- A clear winner means adopt it and move on. Watch time, not click volume, was the deciding factor.
- “Performed same” means the variants were statistically indistinguishable. Pick whichever design fits your channel’s visual identity, since neither hurt engagement.
- “Inconclusive” usually means your variants weren’t distinct enough, or the video didn’t get enough traffic for the system to reach confidence. Rerun the test with more visually different options.
Google Ads guidance on experiment design makes a similar point for paid creative: experiments need clear hypotheses and genuinely distinct variants before the data means anything. A test comparing two nearly identical thumbnails will almost always land on “performed same,” not because the thumbnail doesn’t matter, but because you never actually tested a real difference. Treat an inconclusive result as a design problem, not a dead end.
When Does Pre-Launch Simulation Make Sense?
For most weekly uploads, the two-step workflow above (preview, then live test) covers your needs completely. But some videos carry more risk than others, and that’s where a third layer, simulated testing before anything goes live, starts to earn its keep.
- Paid promotion: If you’re boosting a video with ad spend, a wrong thumbnail choice costs real dollars, not just organic reach.
- Series launches: The first thumbnail in a series sets viewer expectations for every episode that follows.
- Product or brand announcements: One-shot videos don’t get a second chance at a first impression the way a weekly series does.
This is where tools like POPJAM fit into the workflow. Rather than waiting two weeks for a live YouTube test, POPJAM simulates audience psychographic reactions to your creative before it ever reaches a real viewer, which lets you test ad creative before you launch and catch a weak design before it burns through a promotion budget.
Pro Tip: Reserve simulated pre-testing for your highest-stakes uploads. Running it on every weekly video adds a step you probably don’t need; running it before a paid campaign can save you from funding a thumbnail that never had a chance.
What YouTube Creators Get Wrong About Thumbnail Testing
Most advice on thumbnail testing treats it as a single event: upload three thumbnails, wait, pick a winner. That framing undersells the part of the process that actually matters most, which is what happens before you ever open YouTube Studio.
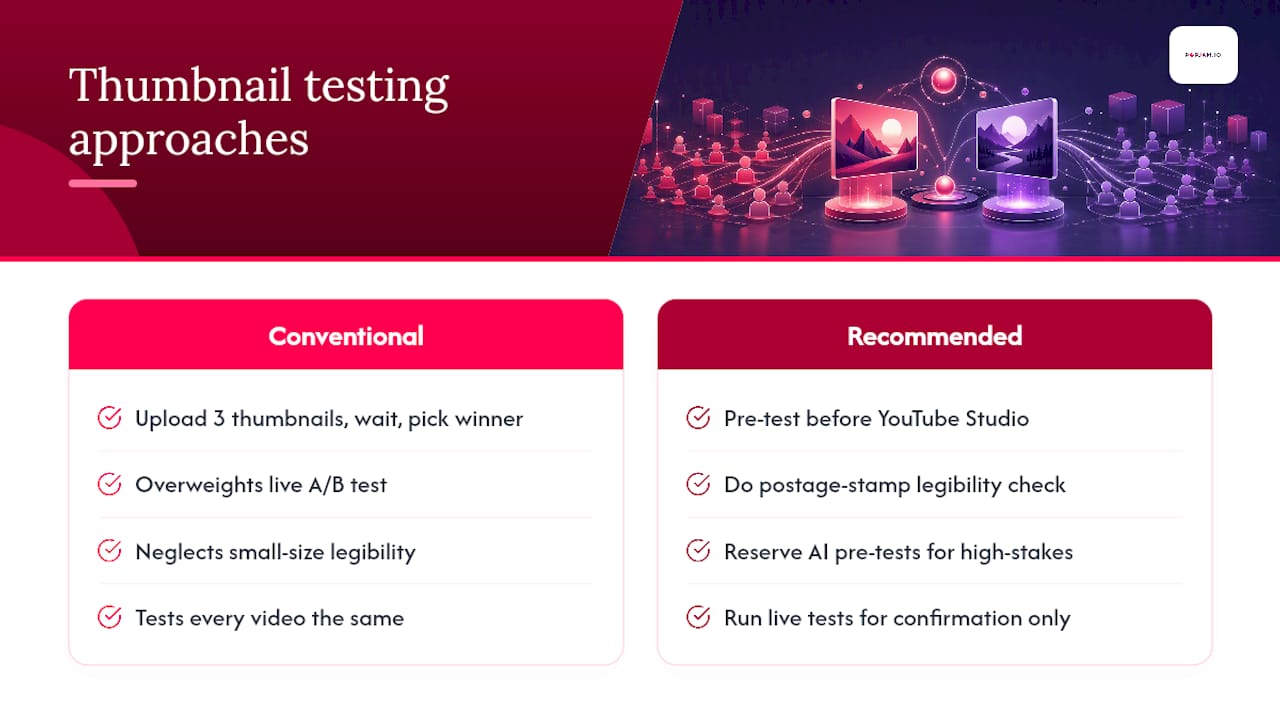
The conventional wisdom overweights the live A/B test and underweights the small-size legibility check. A thumbnail that looks striking on a 27-inch monitor can turn into visual noise on a phone screen, and phones are where most of your audience is actually watching. If you only do one thing differently after reading this, make it the postage-stamp test on every thumbnail before it goes anywhere near a live experiment.
The second gap is treating every video like it deserves the same testing rigor. A weekly vlog and a paid product launch do not carry the same risk, and they shouldn’t get the same process. Reserving simulated, AI-driven pre-testing for your highest-stakes uploads, the ones backed by ad spend or launching a series, is a more disciplined use of your time than running heavyweight testing on everything. Save the live YouTube test for confirmation, not discovery. By the time a thumbnail reaches that stage, you should already be fairly confident it works.
— Doruk
Test Your Ad Creative Before You Spend a Dollar on Promotion
If you’re already narrowing thumbnails with preview tools and confirming winners through YouTube’s A/B testing, you’re most of the way to a real testing discipline. Where that process runs out of road is paid promotion: YouTube’s live test takes two weeks to report a result, and by then a boosted campaign has already spent its budget on whatever creative you launched with.
POPJAM closes that gap by simulating audience reactions to your ad creative before it ever goes live, giving you a signal on what will resonate days before you’d otherwise get one from a slow-burning live test. For creators running paid amplification, launching a series, or announcing a product, that head start is the difference between funding a guess and funding a tested choice. Try the AI ad generator on your next campaign and see how your creative performs against simulated audience feedback before a single dollar goes toward promotion.
Sources
The guidance above draws primarily from YouTube’s own Test and Compare documentation and Google’s video experiments help center, both of which govern how the actual testing mechanics work on the platform.
- A/B test titles & thumbnails - YouTube Help
- Boost YouTube creative performance with experiments - Google Blog
FAQ
How Do You Test Your Thumbnails?
Preview your candidates across YouTube’s real contexts (home feed, search, mobile, notifications), narrow to two or three distinct designs, then confirm the winner with YouTube’s Test and Compare feature.
Is Thumbnail Testing Worth It?
Yes. Advertisers who optimized their creative saw significantly higher ad recall in Google’s 2019 to 2020 studies, a strong signal that design choices measurably change viewer response.
Can AI Help With Thumbnail Testing?
AI-driven simulation tools like POPJAM can model audience reactions to creative before it goes live, which is especially useful for paid campaigns where a live YouTube test would take too long to protect ad spend.
How Does Thumbnail A/B Testing Work on YouTube?
You upload up to three thumbnail variants in YouTube Studio, and the platform runs them for about two weeks, choosing a winner based on which one produces the highest watch time.